


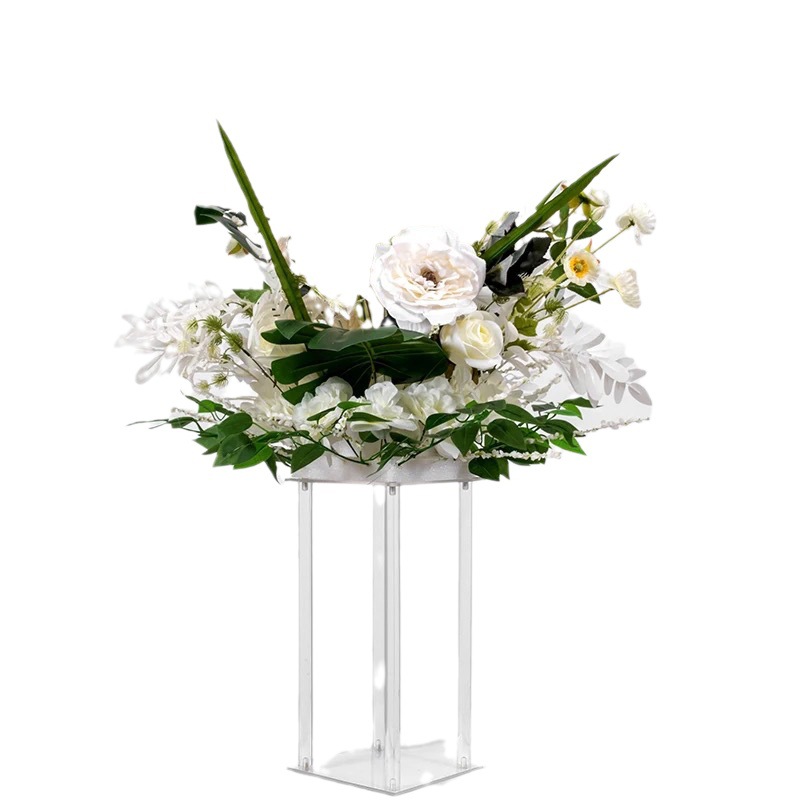
Acrylic display products have gained significant popularity due to their transparency, durability, and aesthetic appeal. They are widely used in various industries, including retail, museums, and exhibitions, to showcase products effectively. The customization process of acrylic display products involves several crucial steps to ensure that the final product meets the specific requirements of the client. This article will delve into the detailed acrylic display product customization process.
Step 1: Requirement Gathering
The first and most fundamental step in the acrylic display product customization process is gathering the client’s requirements. This involves a comprehensive discussion between the client and the acrylic manufacturer or designer. The client needs to clearly articulate their vision, purpose, and constraints for the display product.
Product Details
The client should provide information about the items to be displayed. This includes the size, shape, weight, and quantity of the products. For example, if it is for displaying jewelry, the manufacturer needs to know the average size of the rings, necklaces, and bracelets, as well as how many pieces will be shown at once.
Design Preferences
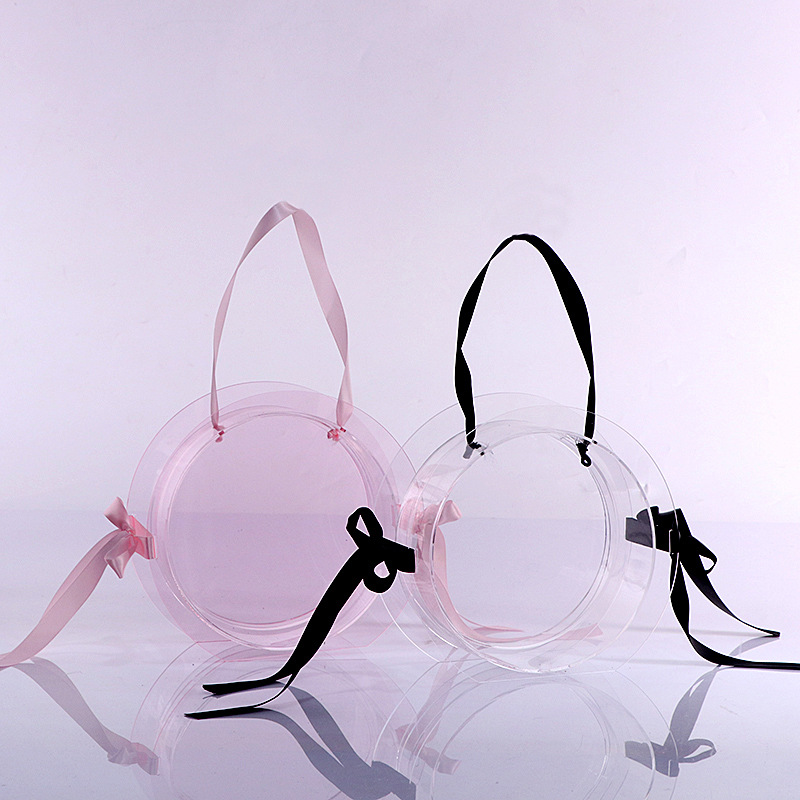
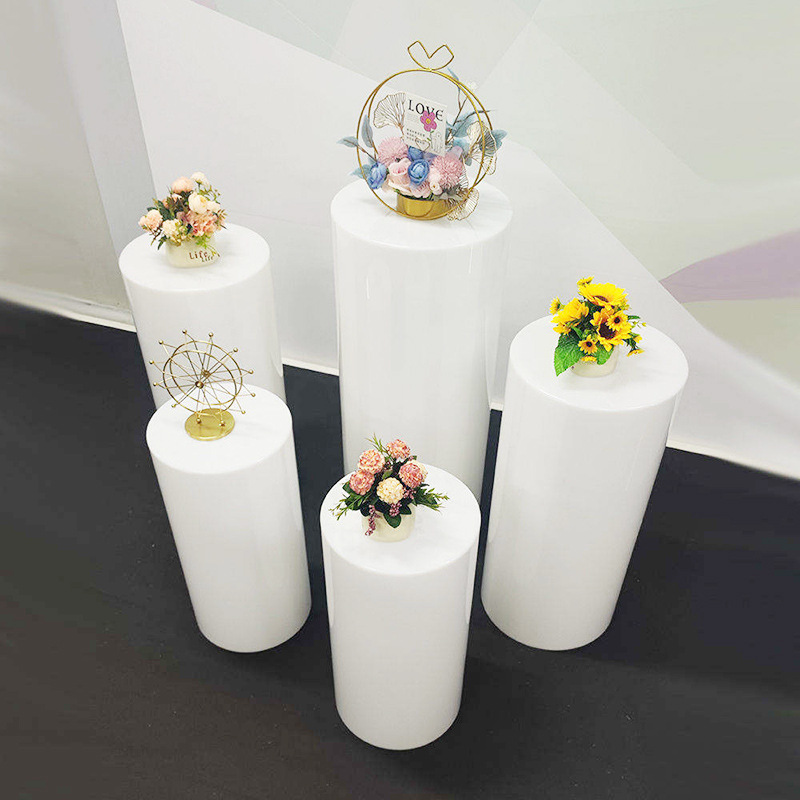
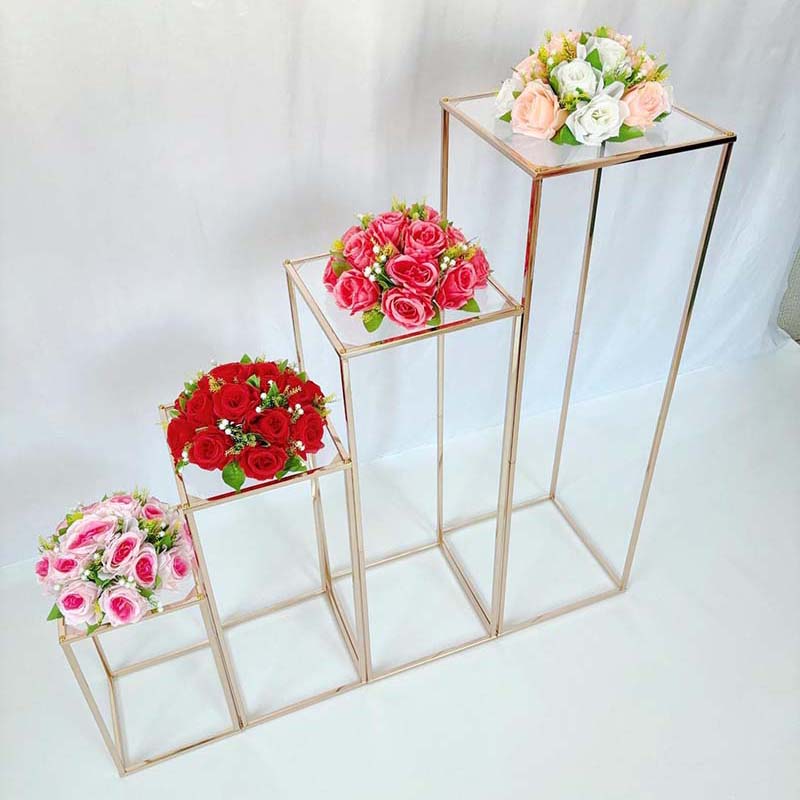
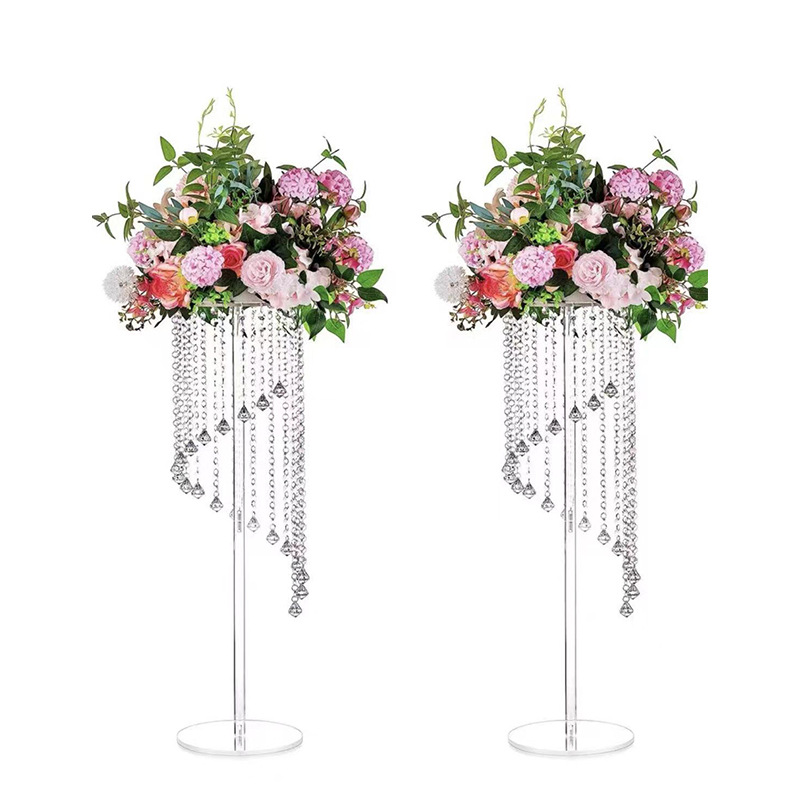
Clients are often very specific about the design of the display product. They may have ideas regarding the overall style, such as modern, classic, or minimalist. Color preferences are also important; some clients may want a clear acrylic look, while others may prefer tinted or colored acrylic. Additionally, any special features like lighting, signage, or branding elements should be discussed at this stage.
Space and Environment
The location where the acrylic display will be placed is a crucial factor. The client needs to provide details about the available space, including its dimensions, lighting conditions, and the overall ambiance of the area. For instance, a display in a bright retail store may require different design considerations compared to one in a dimly - lit museum.
Step 2: Design Concept Development
Once the requirements are gathered, the design team begins to develop a concept for the acrylic display product.
Sketching and 3D Modeling
Designers start by creating rough sketches of the display product. These sketches help to visualize the basic shape and structure. Then, using specialized software, they create 3D models. 3D modeling allows both the client and the designer to view the display from different angles and make adjustments easily. It provides a more accurate representation of how the final product will look and function.
Material Selection
Based on the design requirements and the nature of the displayed items, the appropriate type of acrylic material is selected. There are different grades of acrylic, each with its own properties such as clarity, strength, and resistance to scratches. For example, if the display will be in a high - traffic area, a more scratch - resistant acrylic may be chosen.
Cost Estimation
Along with the design development, the manufacturer provides a cost estimate to the client. This estimate includes the cost of materials, labor, and any additional features such as lighting or custom - made parts. It helps the client to determine if the design fits within their budget and allows for adjustments if necessary.
Step 3: Design Approval
After the design concept is developed, it is presented to the client for approval.
Client Review
The client reviews the 3D models, sketches, and cost estimates. They can provide feedback and suggest any changes they want to see in the design. This is a collaborative process, and the design team should be open to the client’s ideas and concerns.
Finalization
Once the client is satisfied with the design, the final version is approved. Any last - minute adjustments are made, and the design is locked in for production. This approval is a crucial milestone as it sets the stage for the actual manufacturing process.
Step 4: Manufacturing
With the design approved, the manufacturing process begins.
Cutting and Shaping
The acrylic sheets are cut into the required shapes using precision cutting tools such as laser cutters or CNC routers. These tools ensure accurate and clean cuts, which are essential for the overall quality of the display product. The cut pieces are then shaped according to the design, which may involve bending or molding the acrylic.
Assembly
The individual components of the acrylic display are assembled. This may include attaching shelves, doors, and other parts. The assembly process requires careful attention to detail to ensure that all parts fit together perfectly and that the display is stable.
Finishing
After assembly, the display product undergoes a finishing process. This includes polishing the acrylic to enhance its transparency and remove any scratches or marks. Any additional features such as lighting fixtures or signage are also installed at this stage.
Step 5: Quality Control
Before the acrylic display product is delivered to the client, it goes through a rigorous quality control process.
Visual Inspection
The product is visually inspected for any defects, such as scratches, bubbles, or uneven surfaces. The alignment of all components is checked to ensure that the display functions properly.
Function Testing
If the display has any moving parts or special features like lighting, they are tested to ensure that they work as intended. For example, if it is a display with a sliding door, the door should slide smoothly without any resistance.
Step 6: Delivery and Installation
Once the acrylic display product passes the quality control checks, it is ready for delivery and installation.
Delivery
The manufacturer arranges for the safe transportation of the display product to the client’s location. Special care is taken to prevent any damage during transit.
Installation
In many cases, the manufacturer also provides installation services. Professional installers ensure that the display is set up correctly in the designated space. They also make any final adjustments to ensure that the display looks and functions as expected.
In conclusion, the acrylic display product customization process is a complex and detailed journey that involves multiple steps. From gathering requirements to final installation, each stage plays a vital role in creating a high - quality, customized acrylic display product that meets the client’s specific needs.
