


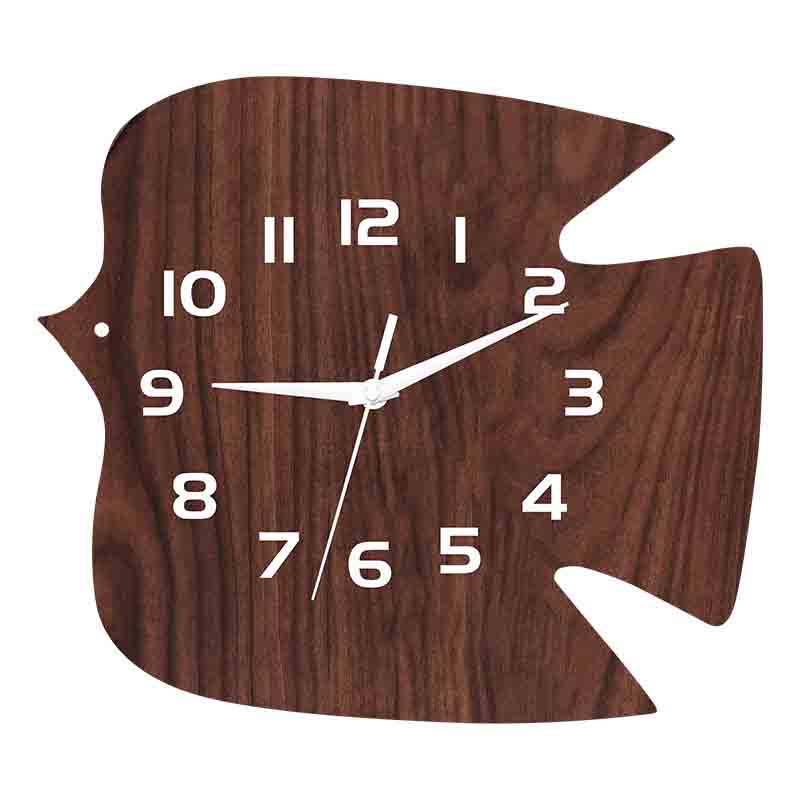

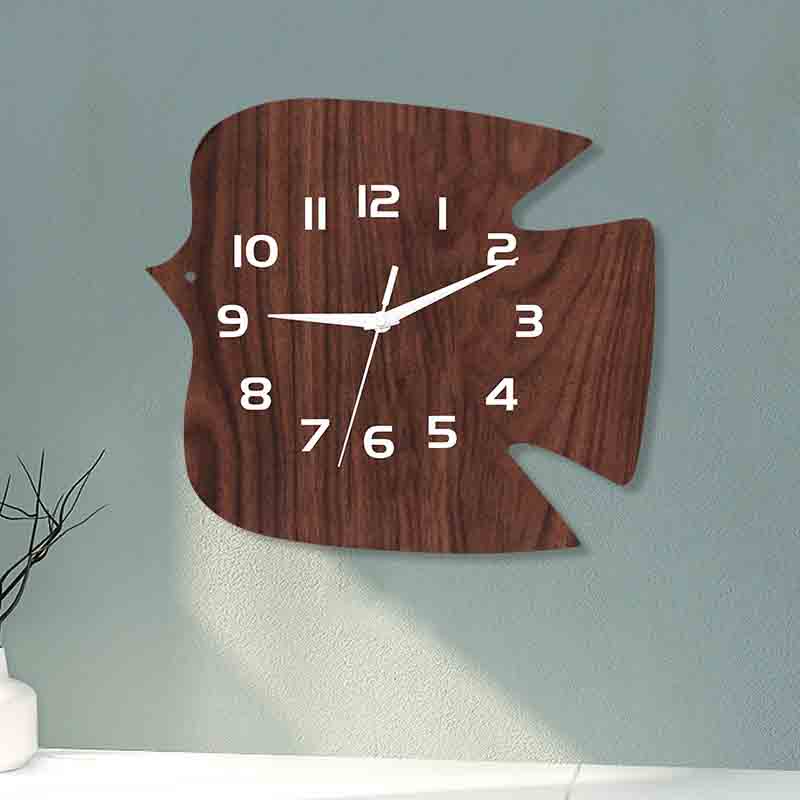


Crafting a Custom - made Acrylic Wall Clock with Fish Pattern and Wood Grain
Introduction
A custom - made acrylic wall clock with a fish pattern and wood grain is a unique and eye - catching piece that combines artistry and functionality. Here’s a detailed look at how it’s crafted.
Material Preparation
First, gather all the necessary materials. You’ll need high - quality acrylic sheets, a clock mechanism, wood veneer for the wood grain effect, paint, and stencils of fish patterns. Ensure the acrylic is clear and free of scratches, as it will be the base of the clock.
Designing the Pattern
Start by sketching the fish pattern on paper. Consider the size and placement of the fish on the acrylic sheet. Once you’re satisfied with the design, transfer it onto the stencil. You can use a computer - aided design (CAD) program to create a precise and detailed pattern if you have the skills.
Applying the Wood Grain
Cut the wood veneer to fit the edges or a specific area of the acrylic sheet where you want the wood grain effect. Use a strong adhesive to carefully attach the wood veneer, making sure there are no air bubbles or wrinkles. Smooth out the edges for a clean look.
Painting the Fish Pattern
Place the stencil on the acrylic sheet. Use acrylic paint in appropriate colors to carefully fill in the fish pattern. Work slowly and steadily to ensure the lines are sharp and the colors are vibrant. Let the paint dry completely between coats to achieve an even finish.
Assembling the Clock
Drill a small hole in the center of the acrylic sheet for the clock mechanism. Insert the clock mechanism through the hole and attach the clock hands according to the instructions. Make sure the hands move smoothly and accurately.
Finishing Touches
Clean the acrylic surface to remove any dust or fingerprints. You can add a clear coat of varnish to protect the paint and give the clock a shiny finish. Finally, hang the clock on the wall, and enjoy your one - of - a - kind custom - made acrylic wall clock with a fish pattern and wood grain.
